Wednesday, November 30, 2011

BBQ Stingray in Banana Leaves


Another food I miss in Singapore---BBQ Stingray. Oh and the La La and other seafood being grilled on banana leaves with sambal chilli makes my day! I was so happy to find stingray in the Korean supermarket and I immediately grab them and without any hesitation shall make BBQ stingray!

I managed to find a recipe on http://kitchentigress.blogspot.com/2011/04/how-to-make-sambal-stingray.html. The most important thing in this dish is the sambal chilli. And this time round I have made the best sambal chilli so far hehe. It's a pity that I can't find calamansi limes here (I just use key limes) if not it will taste even better. I follow closely to this recipe on Kitchen tigress website so I shall not post the recipe here. You can check out the website if you are interested. And she has better presentation and pictures for the BBQ Stingray ;)


My sambal chilli. I like ;p The tip after a few attempts is to add lot's of oil, which I usually don't follow strictly to the recipe cos I find it too unhealthy. But than, looks like to get good sambal chilli I have to keep to the proportion given in the recipes

Tuesday, November 29, 2011

Ladies Finger (Okra) and Tomato Stew (A bit Cajun style)

  Just came back from my Thanksgiving holiday so lazy to 开锅 (in cantonese means use wok to cook something) and my husband too tired to drive out to eat too (cos he is the only one driving for the road trip). Scan through my recipes saved in my computer for an easy one pot meal. One recipe caught my eye. It's a vegetable stew and I have all the ingredients in my fridge! I got this recipe from food network's Paula's home cooking. This is one of the few healthier dishes I learnt from her. Usually she will add lot's of butter and heavy cream stuff. But this Okra and tomato stew is slightly different, there is no heavy cream or cheese but there is still butter just that not as much. I think this goes very well with rice. Especially for this cold weather I think this makes a great and healthy dinner for me.

Green pepper, onion and tomatoes are typical ingredients in Cajun cooking. Actually I love Cajun food! Jambalaya rice, gumbo, crawfish etouffee etc. Yummy! This is my first attempt in cooking something similar to cajun food. I shall try to cook some more cajun cuisine next time ;)

Ingredients
1)  1 tablespoon olive oil
2) 50g bacon, chopped (I omitted this, maybe next time I will add luncheon meat)
3)  1 tablespoon butter
4)  1/2  medium yellow onion, diced
3)  1/2  medium green bell pepper, diced
4)  1/2 teaspoon minced garlic
5)  1/4 teaspoon salt
6)  1/4 teaspoon garlic powder
7)  2 cups diced tomatoes, peeled and cored
8)  1/2 cup water
9)  1/2 cup chicken stock
10) 2 cups sliced fresh okra
11) Salt and freshly ground black pepper
12) 1/2 teaspoon of cajun seasoning 

Directions
1) In a large pot, heat the oil over medium heat. Add butter, onion, green pepper and garlic. Saute until the vegetables are soft and the onions are translucent. 
2) Add cajun seasoning, garlic powder, tomatoes, water, chicken stock and okra. Bring to a boil. Reduce the heat and let simmer for 30 minutes stirring occasionally. Season, to taste, with salt and pepper.


Wednesday, November 23, 2011

Otah Otah Update


This is the continuation of my previous post on Bubur Cha Cha. I mentioned about the CCE gathering on Nyonya theme, and this is the other dish I cooked. I don't think I can find this dish here in Houston. That's why my friends love it. I remember when I was small whenever I hear people shouting," Otah Otah! Otah Otah!" I would pester my mum to buy this as an additional dish for dinner. Those sold is different from what I cooked. Theirs were wrapped in small leaves, look like a small thin flap of fish paste and it is much redder colour than mine. Oh and they will use charcoal to cook it and it has a very fragrant smell. 


For mine, I found this recipe on Rasa Malaysia. I think hers is the Malaysian style. I have used fish paste this time instead of fish meat. And I can't find betel leaves here so I have left this out. This is my second attempt. For the first attempt, I have used my blender to grind all the spices but it did not turn out to be as fine as I would love it to be. In the end I still used my mortar and pestle to pound all the spices again! Double work! This time round I decided to chuck my blinder aside. I have pounded all my spices and it turn out perfect! And I have learnt this little tips from one of the website that pounding individual ingredients first will enable you to control the texture of the paste better. I have followed her tips and it work well for me. Just that it needs a little more work, as after pounding the individual ingredients, I being kiasu will mix them up again and pound another time so that they will blend together. But it is well worth the effort as the paste turn out great!


Pound and pound mixing the ingredients together

Dadah! Done!
Give it a try and I am sure you will like it!


Ingredients:
1 to 2 banana leaf wash and dry it.
500g fish fillet (slices) --- I have used around 360g of fish paste
Custard ingredients:
2 eggs
1 cup coconut milk
2 tsp rice flour
3 kaffir lime leaves (finely sliced)---- I can't get this here and I have replaced it with the zest of 2 limes
1 tsp salt
1 tsp sugar
Spice Paste
10 shallots
3 cloves garlic
5 fresh red chilies
4 dried red chilies
2 stalks lemon grass
1 inch galangal
1 inch turmeric
20g shrimp paste (toasted)
Method:
1.  Chop the spice paste ingredients and then blent it in a food processor or pound it until fine.
2.  Combine the custard ingredients,add in spice paste and mix well.
3.  Add in the fish paste or fish slices into the combined ingredients. (I have break up the fish paste into smaller pieces)
4.  Place the banana leaves in a dish with some depth. Add in the custard mixture with the fish. Fold the banana leaves over the top to cover the whole mixture.
Uncooked version

5.  Heat up wok and boiling water.Steam for 10 minutes over rapidly boiling water.
6. Unwrap the leaves and serve immediately.


******Update: Recently I made another batch of Otah but this time using the oven to grill. It really taste and smells good! Just put the otah in the preheated 200 degrees oven and bake it for around 10 - 15 min or until the otah is cooked. I have also cooked some nasi lemak and sambal brinjal with bean curd and sambal sotong to go with my yummy otah! Simply delicious!


Monday, November 21, 2011

Bo Bo Cha Cha? Bubur Cha Cha? 摩摩喳喳

 
Bo Bo Cha Cha or Bubur Cha Cha? The correct one is Bubur Cha Cha! But we sometimes call it Bo Bo Cha Cha. It is one of my favourite desert which my mum will cook once in a while. It is actually a Nyonya desert. Today I have a gathering with my friends staying near me (in my previous post I mentioned that we will meet up once in a while and we call it Culinary Culture Exchange ;p ) and our theme is Nyonya food. Therefore I have decided to cook this desert and otah for the gathering. 

I have used purple sweet potato and orange sweet potato this time. That's why the broth turned light purple. Bubur Cha Cha is not complete without the tapioca jelly. This time I have made my own jelly and I have added some tapioca pearls which I have managed to find at the chinatown supermarket. 
Cooked own made tapioca jelly

I am sure some of you are like me. I like to eat Bubur Cha Cha because of the chewy tapioca jelly. It is pretty easy to make. Place 100g of tapioca flour in a mixing bowl. Add 1/2 cup of boiling water into the flour. Mix the flour and water until well incorperated. Be careful cos it will be hot! If you like you can add colouring and roll the dough till the colour is well distributed. For me I have chopped up my gula melaka into small pieces and mix them in the dough that's how my jellies become yellow colour. I learn this method in another blog.  Roll the dough on a surface with flour on it. Roll into any shape you like. For me I just roll it into a long rod like shape and cut in into small chunks. Boil a pot of boiling water. Add in the tapioca jelly. Stir it so that the jellies do not stick together. When they float in the water they are done. I will put them in a bowl of cold water first and than add them into the Bubur Cha Cha when it is cooked.

It is pretty easy to make this desert. Just that you need to cut up the yam and sweet potatoes. And if you are lazy to make your own tapioca jelly, you can buy the pre made ones ;)

Ingredients: (serve 6 to 7)
1) 1/2 a medium size yam cut into cubes
2) 2 small purple sweet potatoes cut into cubes
3) 1 big orange sweet potatoes cut into cubes
4) 200 ml of thick coconut milk
5) 8 bowls of water
6) 4 tablespoons sugar (the amount depends on how sweet you like)
7) 2 pandan leaves
8) Tapioca jellies

Steps:
1) Bring the water to boil. Than add in the pandan leaves, sweet potatoes and yam. Cook them till they are soft.
2) Add in the sugar and coconut milk.
3) Add in the tapioca jellies.
4) When the sugar has dissolved. You can serve. If you like it cold you can put it in the fridge.

Wednesday, November 16, 2011

Steam Yam Cake 芋头糕


I bought a yam for making bo bo char char for a gathering but the gathering is being postphoned, so I was thinking of what to do with the yam. Suddenly thought of my mum's steam yam cake. I remember whenever she makes yam cake I will ask her to make more so that I can bring it to school for lunch and share with my close colleagues. 


I went to search for some recipes on yam cake and found that most of the recipes seems different from my mum's version. My mum's yam cake has quite a lot of ingredients inside, for eg dried prawns, chinese sausages and mushrooms. And those recipes that i found will fry the dried prawns and sprinkle on top of the steam yam cake. I think I prefer my mum's version maybe because I have been eating it since young. One thing which is very very important to add on top of the yam cake is freshly fried small onions. I think it is like an icing on the cake, it has that 画龙点睛的效果!If you are lazy to fry your own small onions, you can get the stall bought ones, but than freshly made ones really make the yam cake taste much better. Actually, I will use the microwave to make my fried small onions. It's simple and you won't get your kitchen oily. I will slice the small onions put in a bowl, add oil till it covers all the onions. Than you put in the microwave on high heat and heat it for 2-3 minutes. The time will depend on the power of your microwave oven. The important thing in using this method is to keep on checking on the onions so that it will not get burnt. I will heat it up for 2 minutes, give it a check than bring it out and give it a stir and put it back to heat it again. Once the onions turn slightly brown, it is ready. Don't wait for the onions to turn really brown as it will continue to cook when you get it out from the oven. So it might get burnt if you cook too long in the oven. That's my tip on frying onions in microwave. 


Ingredients:
1) 500g yam (skinned, diced) 
2) 500g rice flour
3) 2 tbsp tapioca flour
4) 1000ml water 
5) 5 dried mushrooms, soaked & sliced
6) 2 chinese sausages, take away the skin and diced it
7) 100g dried prawns soaked and chopped into small pieces
8) 2 Tbsp cooking oil
9) 1 tsp light soya sauce
10) 1 tsp sesame oil
11) 1 tsp pepper
12) 1 tsp sugar
13) 1/2 tsp five-spice powder (optional)


Garnishing:
1) 2 fresh red chillies (sliced)
2) 1 bunch coriander leaves  (cut to 2cm lengths)
3) Fried shallot crisps
4) 2 tbsp sesame seeds
5) Chopped roasted peanuts (optional)


Steps:


1) Heat the oil used for frying small onions using microwave in a pan over medium high heat, and fry the dried shrimps and chinese sausages until they become aromatic.
2)  Add the cubed yam and mushrooms to the pan, and fry it for a while. 
3) In a separate bowl, mix the rice flour, tapioca flour and water, and stir until it forms a smooth paste. Take care to ensure there are no lumps in the mixture.
4) Add the flour mixture into the pan slowly, and stir until everything forms a thick paste.
5) Add the salt, pepper and five spice powder, and mix well.
6) Pour the mixture into a heatproof bowl/plate (I use aluminum tray) and steam over high heat for 45 minutes, or until cooked.
Before Steaming
7) To serve, sprinkle with deep fried shallots, coriander leaves, sliced chillies and sesame seeds. 
After Steaming


After garnishing


Monday, November 14, 2011

Vegetable Curry 杂菜咖哩


I have been trying to finish up the cabbage in my fridge. Cooked the Okonomiyaki, stir fry it, cook soup with it, but there is still a lot left. The cabbage they sold here is really one huge ball! Luckily, the cabbage can be kept for quite a while, if not it will be wasted. Running out of ways to cook cabbage and I suddenly came across the vegetable curry recipe. A great dish on a cold night for dinner and I can try to get rid of some of my cabbage too ;p. Oh and also I am trying to finish up my home made chilli paste in the fridge too so kill many birds in one stone.


I got this recipe from Kitchen Snippets. It was suppose to be Nonya Vegetable Curry. But looking at my own cooked version and how it taste, it taste more like my mum's version of curry japchai (杂菜咖哩). It turn out to be very thick. Maybe next time I will not add so much coconut cream. But I have followed closely to the recipe in the website. But though it is thick it taste good for me. You can add your own variety of vegetables. For me, I have added fish balls as I remember my mum used to add that to her curry japchai and we love fish balls too. If you find blending the spice paste too troublesome you can just get the vegetable curry spice mix in the supermarket. I am sure it will taste very good too!


Ingredients:
1) 1 eggplant cut into chunks
2) 10 ladies finger cut into chunks
3) Cabbage cut into big pieces
4) 1 Carrot cut into slices
5) 10-15 small tou poks
6) 10-15 fish balls
7) 2 - 2 1/2 cups of coconut milk
8) 2 tbsp curry power, mixed with 3 tbsp water
9) Salt and sugar to taste


Spice Paste ingredients:
1) 3 stalks of lemongrass
2) 2 cm galangal
3) 1" fresh turmeric
4) 8 shallots
5) 6 garlic
7) 3 pieces candlenuts
8) 3 tbsp sambal oelek


Steps:
1) Blend the spice paste ingredients.
2) Heat up about 3 tbsp of oil in the pan. Stir-fried the blended ingredients until fragrant. 
3) Add in the curry powder. Continue to stir-fry so that it won’t burn. Add in a little bit of coconut milk. Continue to stir-fry until you see oil starts to appear.
4) Add in the rest of the coconut milk. Bring it up to boil. Add in the carrots. Cover and let it cook for 5 minute. Add in the rest of the vegetables and continue to cook over medium low heat until vegetables are about done.
5) Add in the bean curd pockets. Let it simmer for another 5 minutes. Season with salt and sugar to taste. Serve warm.

Friday, November 11, 2011

Baked Teriyaki Cod Fish 照烧鳕鱼


One of my favourite fish--Cod fish! Now I will only eat either salmon or cod fish because they have rich omega 3 which is good for my heart. But cod fish is rather expensive so I will buy it in alternate weeks. If not I will buy the cheaper version of it which is from greenland. It is not as round as the cod fish we usually see, in fact it is rather flat and slim.

Besides steaming cod fish. I love to eat it teriyaki style. I have tried to make it several times but this time round it is more successful. For the previous attempts, it does not turn out as dark and as pretty as it is supposed to be. You can also do this dish pan fry style. But I prefer to bake it as it will be less messy. However the pan fried version will be more tasty.  I referred to this website http://wokkingmum.blogspot.com/2011/11/baked-cod-teriyaki.html for the recipe. If you want you can refer to http://rasamalaysia.com/salmon-teriyaki/2/ for another similar one.

Ingredients:
1) 1 cod fish
2) 1 tablespoon of soya sauce
3) 1 tablespoon of mirin
4) 1 tablespoon of sake
5) 1 tablespoon of sugar

Steps:
1) Pour all the marinate in a ziploc bag.
2) Put the cod fish inside and give the bag a little shake so that the marinate can be coated evenly.
3) Put the whole bag in the fridge and marinate overnight for best taste. If not marinate for at least 3-4 hours.
4) Place the cod on the baking tray lined with baking paper or aluminum foil. Pour some marinate on top of the fish before baking.
5) Put the fish in a preheated oven (around 200 degree C) and bake it for around 10 -15 minutes or until the fish turned darker.
6) Turn over, put some marinate on top and bake for another 8 to 10 minutes or till the fish is cooked.
7) Remove and you can serve.

If you still have some marinate left, you can heat it up in a pan until the sauce thickens and pour it on top of the cooked fish.

Wednesday, November 9, 2011

Baked Chicken with Curry Powder 咖哩鸡翅


My husband and myself love to eat chicken wings. He loved to eat fried chicken wings because of the crispy skin. I have been collecting various ways of cooking it. Most of them needs to be deep fried. But due to my diet and laziness of deep frying, I have not tried any except the Har Cheong Chicken Wings.  The other times I have tried the simple way of baking chicken wings with hoisin sauce, soya sauce and oyster sauce. But my husband says not crispy enough. So I have been trying to achieve crispy skin with the baking method.

After checking the net, I found a few tips in achieving the crispy skin. First one is to make sure you pat the skin dry. The second tip is to switch the oven to grill or broil function when the chicken is almost done. Well, I have followed the tips and this time round the skin is crispy! For this recipe, I learnt it from 吃饭皇帝大again! Hehe by now you should know I am a fan of this taiwanese cooking show. You just need a few ingredients and it turns out delicious! A great finger food (which is different from typical fried or baked chicken wings) for any party.

Ingredients:
1) 20 mid joints chicken wings
2) 3 tablespoons of curry powder
3) 2 tablespoon of ginger powder
4) 2 tablespoons of garlic powder
5) 2 teaspoon of masala powder (optional)
6) 2 tablespoon of oyster sauce
7) 4 tablespoon of oil (i use olive oil)

Steps:
1) Pour all the powder spices in a ziploc bag. Shake well so that they are mixed well.
2) Add in the oyster sauce and oil. Shake well so that they are mixed well.
3) Put the chicken wings inside the ziploc bag. Give it a good shake to distribute the seasonings evenly.
4) Put in the fridge to marinate overnight.
5) Put the wings on a baking tray and bake them in a preheated oven (around 200 degree C) for around 15 to 20 minutes. For the last 5 minutes, turn to grill or broil until the skin turns darker. Be careful not to burnt the skin.

Tuesday, November 8, 2011

Okonomiyaki 大阪烧

I am fortunate to get to know a Japanese friend who used to stay in the apartment where I stay. Her name is Ryoko. She is very friendly and adventurous in terms of food. The first time when we went out for lunch she brought me to eat Indian food. She says she love spicy food. She is so kind to cook Japanese curry and gave me some too. Frankly speaking, I have never tried Japanese curry but thanks to her now I love it. And she even introduced me to a Singaporean who stays in my area! Than this Singaporean introduced me to another Singaporean who happens to be the wife of my husband's colleague! What a small world! Now I have introduced my Shanghai neighbour to them. So we form a little group.

We will gather once in a while either to go out for lunch or a gathering in one of our places. So far we have met in Ryoko's place for a makan session. I taught her how to make Hainanese Chicken Rice and she taught us how to make Okonomiyaki! We have great fun that day. We are planning for another session soon. We have called this Culinary Culture Exchange gathering in short CCE haha!

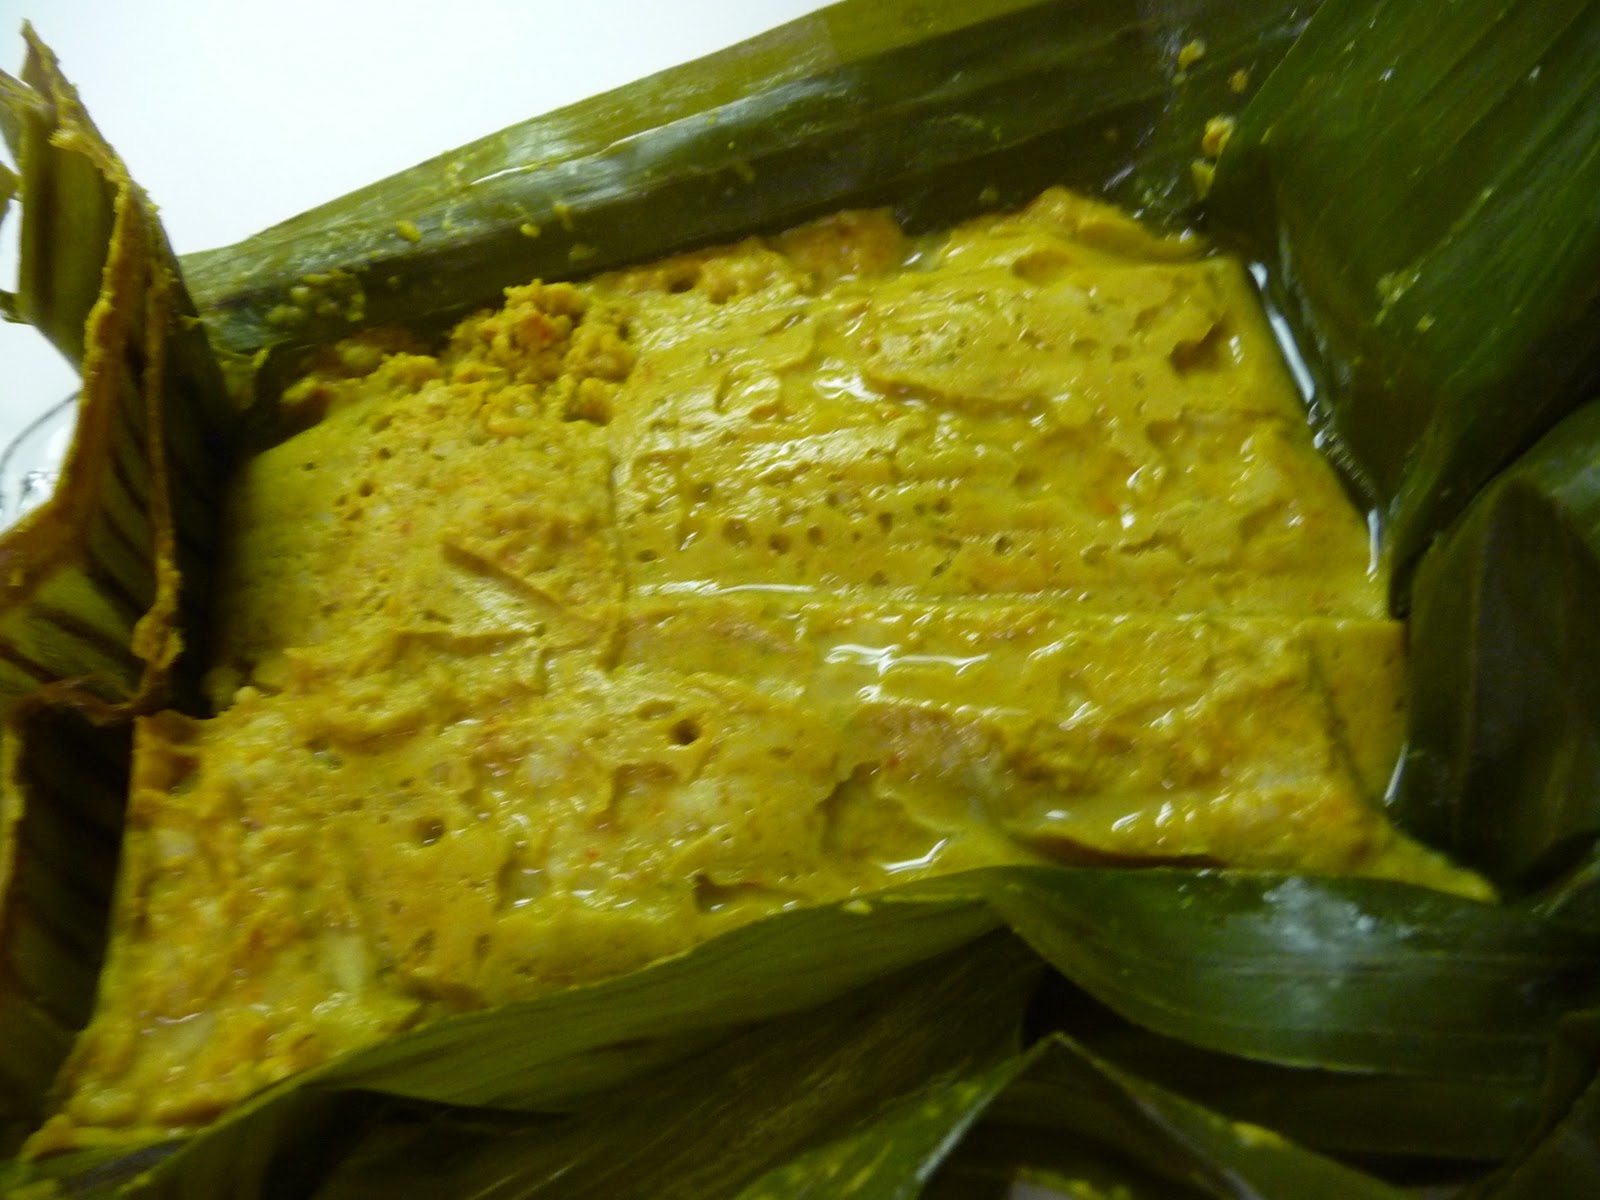
I remember when I left Singapore this Okonomiyaki dish is pretty popular during that time. There is this shop in Old Daimaru where they have an open kitchen concept selling this. Have always wanted to try in that shop but never had the chance. Hehe now I can make my own!

This is a very easy to make pancake and very healthy too. It has lot's of vegetables which is cabbage. All of us love it at first taste at Ryoko's place. I have decided to get all the ingredients and make it! This became my dinner on Sunday!


Ingredients:
1) 1 cup of Okonomiyaki Flour
2) 2 eggs
3) 3/4 cup water
4) Shredded cabbage
5) 1-2 stalk of chopped green onion
6) 4 pieces of sliced pork belly
7) Chopped Japanese pickled ginger
8) Okonomiyaki sauce
9) Japanese Mayo
10) Bonito flakes
11)Roasted seaweed
12) Seafood mix (those frozen ones with shrimps and squid)
Some of my ingredients

Steps:
1) Mix the flour and water in a large bowl until there are no lumps.
2) Add in the eggs, cabbage, chopped onions, pickled ginger and seafood inside the batter. Combine them well gently.
3) Wipe some oil onto the non stick pan using a brush. Heat the oil using medium heat. Scope the mixture onto the pan and spread it evenly. For one cup of flour, we can make two Okonomiyaki using my 30cm pan. So divide out the mixture into 2 portions.
4) Layer the pork belly meat on top. Cook for approximately 5 minutes or until the bottom browns.
5) Flip the patty to cook the side with the meat layered on top for approximately 5 minutes or until fully cooked. One tip to flip the patty is to get a plate ready and scope up the patty onto the plate (cooked side on the plate) Than with one hand holding the plate, and another hand holding the pan,  "pour" the patty onto the pan to cook the uncooked side.
6) Flip the patty once more (meat side up) and cook approximately 2-3 minutes.
7) To serve, squeeze the mayo and Okonomiyaki sauce on top of the pancake (on the meat side). Than sprinkle the bonito flakes and seaweed on top.


Before Deco

Deco Part 1

Finished!
PS: My friend Ryoko added Sakura prawns in this dish. But I can't find it and I happen to have some frozen seafood mix that's why I have added that inside. If you like more cabbage please do add more. Next time I will try to add kimchi to add a spicy flavour ;p!

Monday, November 7, 2011

Steam Clams with Sake (Asari no Sakamushi) 清酒蛤蜊


Now there is always a small bottle of sake in my fridge. It is not only for drinking pleasure but more for cooking Japanese food! I will definitely add sake to my home made teriyaki sauce. Last time I will buy ready made ones, but after finding a recipe for teriyaki sauce, I have stopped buying the bottled teriyaki sauce. Home made sauces you can adjust the sweetness and saltines according to your taste. And adding sake really makes a big difference! So I will add some sake to most of my Japanese dishes especially those with sauces.


This clams with sake is another new dish I found on Rasa Malaysia website. Super simple and super delicious! I bought some clams which is already cooked and vacuum packed. If you are buying fresh live clams you can clean the clams and soak in brine (1 tsp salt in 2 1/2 cups water) for at least 1 hr than rinse them. I am pretty surprised that those frozen ones taste good too! I can taste the sweetness of the clams in the broth of the dish. Of course if you are using fresh ones, it will taste even better! Simply Oishi!


Ingredients:
1) 600g of Clams
2) 1 Spring onion chopped
3) Garlic minced 1 tablespoon (optional. I added this as you know lah I am a fan of garlic ;p )  
4) 1/3 stick unsalted butter

5) 1 1/4 cup water6) 1/2 cup cooking sake
7) 1/4 cup mirin
8) salt to taste
Steps:
1) Heat up a saucepan on medium heat and add the butter. Than add in the garlic and stir fry for a while.
2) As soon as the butter melts, transfer the clams into the pan and do a few quick stirs. 
3) Add the water, sake, and mirin into the clams and cover the pan with its lid. 
4) Turn the heat to high and bring the clams to boil. As soon as all the clams are open, add in salt to taste. 5) Dish out into a bowl, garnish with the chopped scallion, and serve immediately.


Saturday, November 5, 2011

Miso Salmon 味噌三文鱼


This is another ultra simple way of cooking salmon. I learnt it from a TV programme. In the show it is used to marinate pork loin. But I have used it on my big piece of salmon. Actually the sauce can also be used to marinate other types of meat or any other fish. I have used the dark red miso this time round as I want to get rid of it as it had been sitting in my fridge for a long time. The original recipe uses the white miso. But after trying out with the red miso I think it tastes better as red miso has a stronger taste. If you are using red miso like me, be prepared to add more sugar as it is more salty than the white miso.

2 tips in doing this dish. First it is better to use a plastic or ziploc bag to marinate the fish. This way the fish will be evenly marinated. I use ziploc bags in marinating my meat too as it is very convenient and the marinate will be well distributed. The 2nd tips is that you cannot use high heat to fry the fish as miso will get burnt easily.You have to use medium low to medium heat and fry it slowly.

Give it a try and hope that you will like it!

Ingredients:
1) Salmon
2) Miso 1 1/2 tablespoon (you can adjust according to the size of the fish)
3) Mirin 3 tablespoon
4) Sake 1 tablespoon
5) 2 cloves of minced garlic

Steps:
1) Mix all the seasonings and garlic in a bowl. Give it a taste to see if you need any adjustment in adding miso or sugar. The miso has to be well dissolved in the marinate.
2) Pour the marinate in the ziploc bag, than put the fish inside. Shake the bag so that the fish will be evenly marinated. Put the fish in the fridge for at least 2 hours to be well marinated.
3) Heat some oil in the pan. Make sure that the oil is not too hot. Put the fish in it to fry. Use medium heat to fry it till cooked.
4) When the fish is done put it on a plate.
5) Pour the marinate into the pan and add a little water to it. When it is boiling remove from heat and pour the sauce over the fish.
6) If you want you can add some iceberg lettuce on the plate, than place the fish on top.


PS: You can bake the fish in the oven and skip the frying when you are too lazy to clean up the oily kitchen ;)

Thursday, November 3, 2011

大姨妈嫁女 (毛瓜炒虾米粉丝)


这是一道我祖母、我妈妈都会煮的一道菜。 小时候听妈妈或祖母提到这道菜名就觉得很好奇为什么它的菜名是大姨妈嫁女。可是她们都说不知道,从小就听自己的妈妈这样叫。多谢科技的发达,我终于在网上找到这个名称的来源:
“大姨妈嫁女”是广东民间私房家常菜,做起來就像办起例行公事,它有三部曲:先放蒜泥,再放虾米,最后才放下毛瓜丝,红萝卜丝粉丝。这是一道家家必办的事情,大姨妈办起事來很熟练,因為她有很多女儿。做这道菜肴就像大姨妈嫁女儿那么熟练,容易哦! (http://tw.myblog.yahoo.com/helen_blessings/article?mid=68&next=66&l=f&fid=8) 


上次我提到我会和老友WW聊到我们的广东妈妈会煮的家常菜。这也是其中一道。我妈会加入鱼饼,而她妈妈会加入甜竹(广东话叫甜竹。一种豆制食品)。这道菜其实很容易做,相当清淡及健康的菜肴。这次我忘了加入红萝卜,所以看起来颜色白白的不是很好吃的样子。但是,不要被照片所骗哦,问问你一些广东朋友,我相信他们会告诉你这是一道味道很好吃的菜。你可以把这道菜“升级”,加入黑木耳或云儿或其他你们喜欢吃的材料。


食材:
1  毛瓜 1条,切丝
2 粉丝 少许,泡软洗净
3 虾米 少许,洗净用绍兴酒泡一下备用
4 蒜茸 少许
5 蚝油

6 胡椒粉
7 水或鸡高汤


步骤:
用少许油,爆香虾米。再放蒜茸拌炒,然后放入毛瓜丝。
拌炒均匀,放入调味料。加入粉丝继续拌炒。
3 上菜了!


Tuesday, November 1, 2011

蚝油炒冬菇大豆苗 Stir Fry Mushrooms and Bean Sprouts Leaves with Oyster Sauce


这道菜又是我从“吃饭皇帝大” 那儿学来的。简单又健康!我很喜欢吃菇类,特别是香菇。还记得每次家里过年过节,妈妈一定会煮一道焖冬菇。不知道这是不是广东人的习惯。好像每一个广东人的家庭都要有人会煮这道菜。每次闻到焖冬菇的香味,就知道又是过节的时候。香菇的香味夹杂着家里拜神烧香的味道,是一股很另人怀念的气味。好想快点回家过年!今年回家我一定要向妈妈学习如何煮焖冬菇。现在,就暂时吃吃这道蚝油炒冬菇大豆苗来一解乡思之愁吧 ;p

食材:
1)冬菇10朵,泡水至软
2)大豆苗,把老叶去掉剩下嫩叶
3)蒜茸1茶匙
4)番茄酱半大匙
5)蚝油1大匙
6)酱油1大匙
7)糖一大匙
8)香菇水
9)太白粉水
10)麻油少许

步骤:
1)起油锅,爆香蒜茸。然后加入大豆苗快速拌炒,加入少许水,少许盐。大豆苗大火快速拌炒。大豆苗炒香起锅摆盘。
2)锅中加入番茄酱、蚝油、酱油炝锅,加入适量香菇水。加入冬菇烧至收汁,加入太白粉水勾芡,淋上少许麻油拌匀,就可以把香菇摆在豆苗上。将酱汁淋在冬菇上就完成了。